One of my favorite ways to deliver content to my students digitally (and also to save paper) is to use Google Forms in the classroom. If you haven’t used Forms before, or if you are new to using Google Forms, this blog post is for you!
Google Forms is a survey-like app included in the Google suite, and it works beautifully well with Google Classroom. If you’re interested in the many ways you can use Google Forms in the classroom, you can read my previous post: 10 Ways to Use Google Forms in the Classroom.
To start using Google Forms, you’ll want to open up a Google Form. To start, you’ll have your choice of starting a new form from scratch, or you can choose a template. I usually start one from scratch because it is easier for me. However, I also like to format my Works Cited pages manually… so, yeah. However, if you do choose to use a template, the Google Forms Template Gallery has an education category.
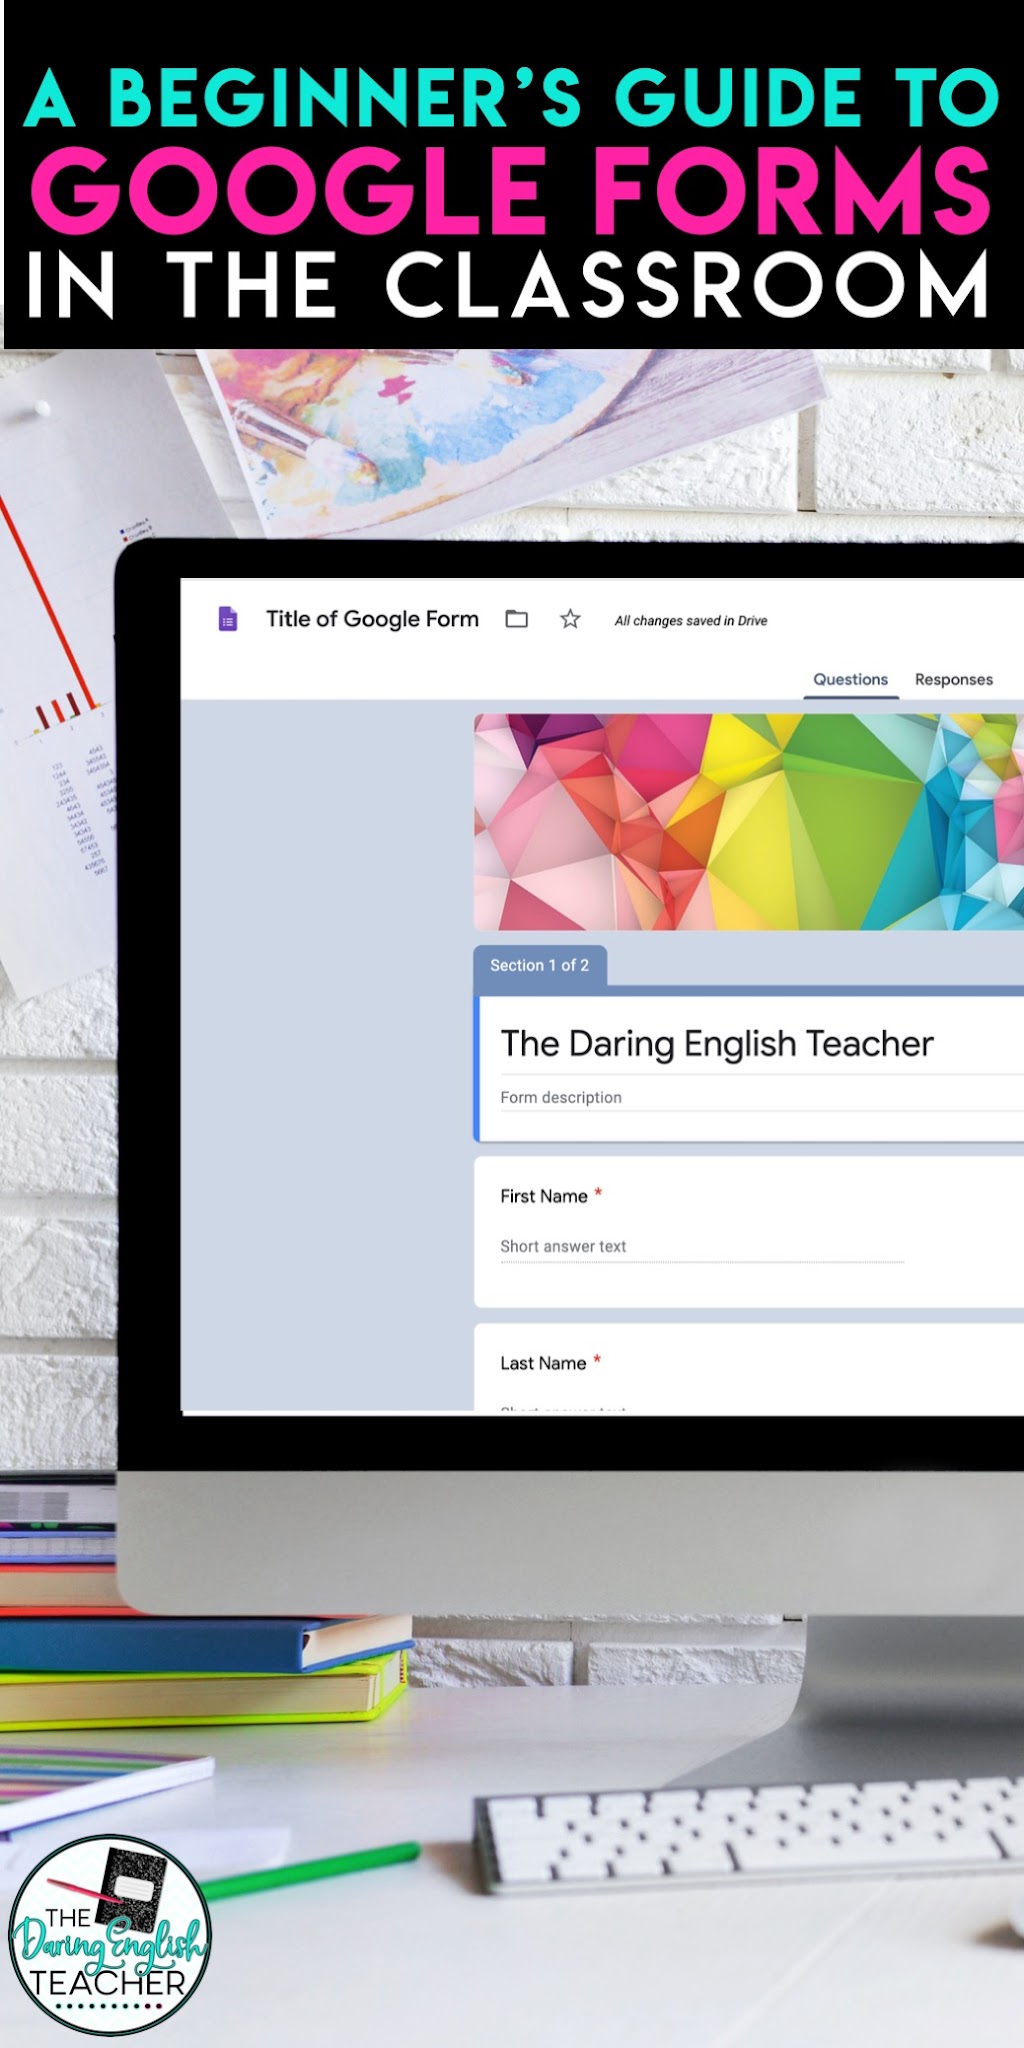
Once you are in a new Google Form, you will want to set it up so that the Form works for you. I always begin every single Google Form I use in my classroom with the same three questions: First Name, Last Name, and Class Period. I do this so that once I export the answers to Google Sheets (which is arguably my favorite benefit of using Forms), I can quickly sort my data to match my alphabetical grade book. If I have one option just for “name,” it won’t be as consistent. I use a separate question for first name and last name.
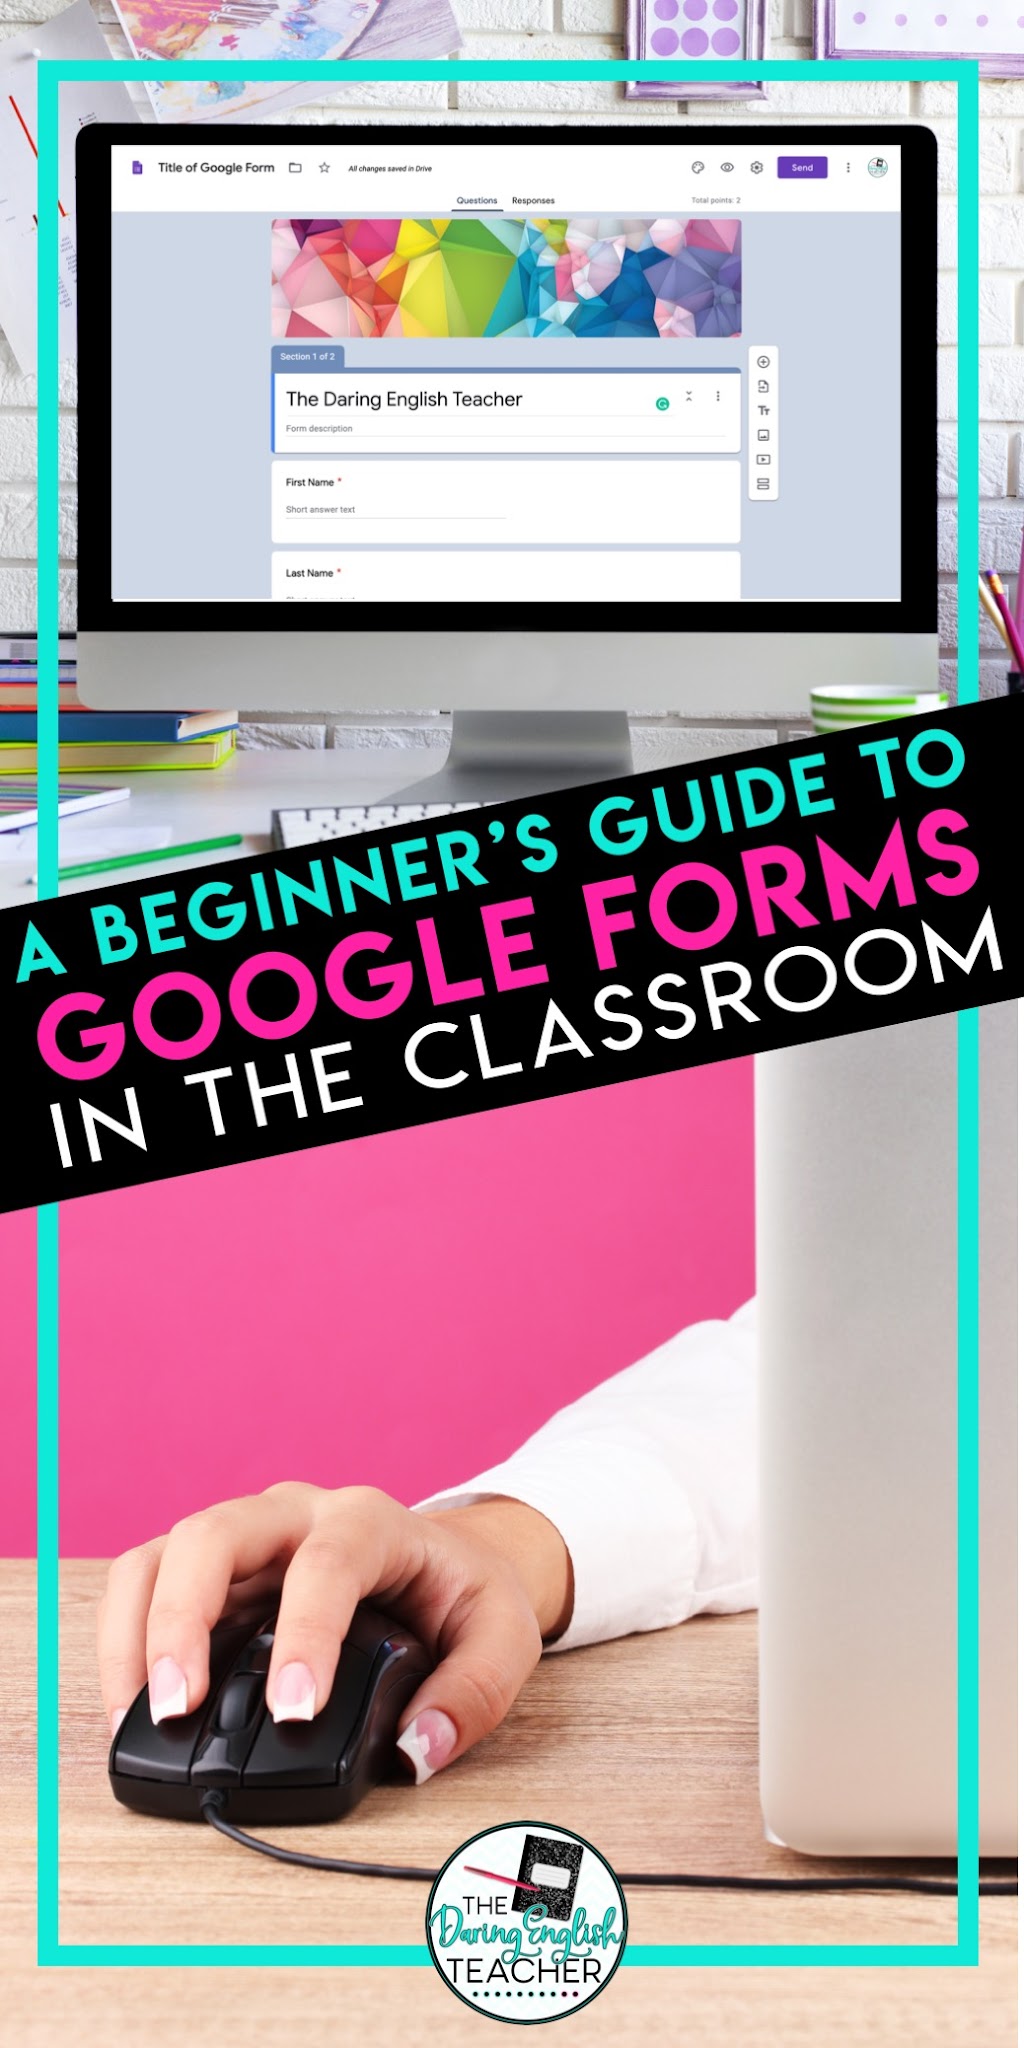
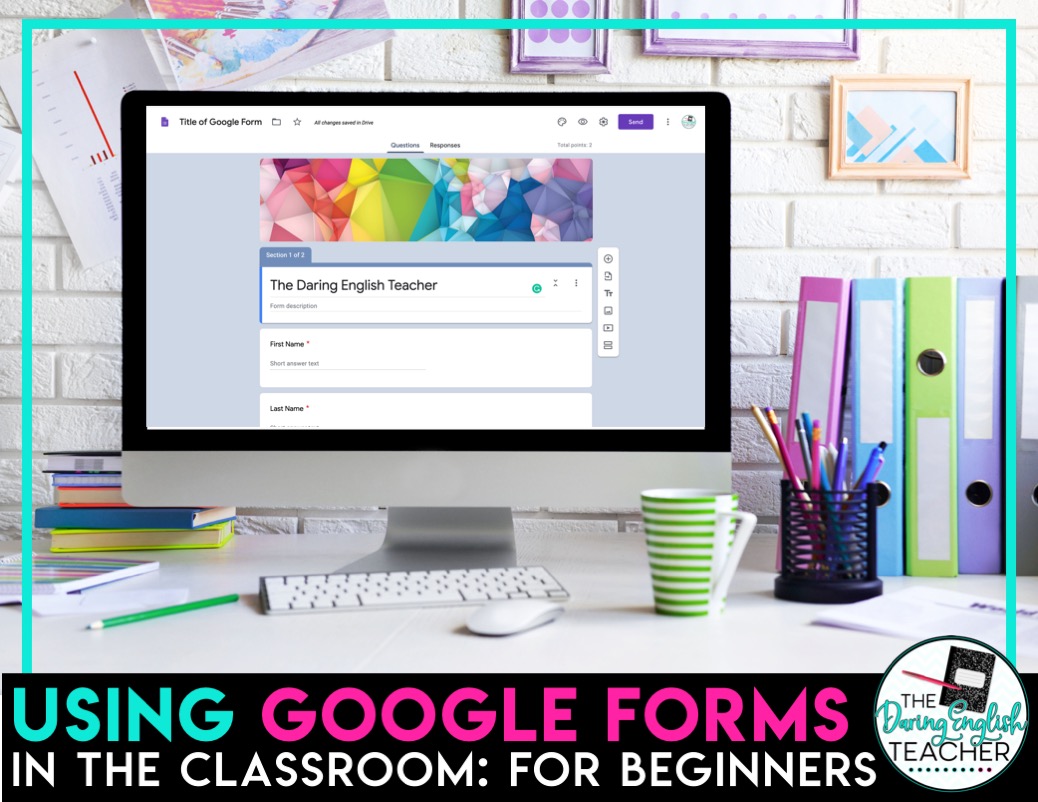
From there, you can set-up your Form. Using the “Customize Theme” button (the color palette in the upper-righthand corner of the Form, you can select a preloaded background image or illustration, change the Form colors, and even choose a different typeface. However, for ease of use, I prefer the standard typeface option. You can also upload your own image as the header for even more customization. To see what the Form will look like to your students, you can select the “Preview” icon, which is the eyeball icon. Finally, you can customize the settings of your Form using the icon that looks like a gear.
It is the gear icon that will allow you to limit students to only one response, you can shuffle the question order, and you can even turn the Form into a quiz.
Once your Form is set-up, you can start editing it and adding questions. I like to have the questions and student information placed into separate sections. To do this, after you enter in the class periods, you can select the icon on the right-hand side that looks like an equals sign. This is the “Add section” icon.
There are 11 different question types: short answer, paragraph, multiple choice, checkboxes, dropdown, file upload, linear scale, multiple choice grid, checkbox grid, date, and time. My favorites for self-grading forms are multiple-choice, checkboxes, and dropdown. Essentially, multiple-choice and dropdown are the same. Students select one answer. I use the checkboxes question type if there are multiple correct answers.
With the quiz mode enabled, you can also go in and assign a point value for each question and select the correct answers. By doing this, you will create a self-grading Google Form. I like using this option for classroom assignments and quizzes.
Once your Form is complete, it is time to send it to your students. The easiest way to do this is to place it on Google Classroom. When I assign a Google Form on Google Classroom, I usually add it as an assignment; that way, students will be able to see when it is due. To send the Form, you’ll click on the “SEND” button at the top right-hand corner of the Form. Select the link icon and copy the link to your clipboard. From there, that will be the link you share with your students.
Finally, once you’ve sent the Form and your students have completed the Form, it is time to see the data. I prefer to view the data in Google Sheets. For this, you’ll click on the “responses” tab and then click the green icon. This will create a new Google Sheet in your Drive where you can sort the data by last name and class period (which is why I always include those options at the beginning of every Form I create).
As with any new technology platform, you have to play with it. Most likely, you will make some mistakes as you learn how to use it, but the more you play around with Google Forms, and the more you use it, the easier the platform will be. For more info, you can watch this YouTube video!
My SMARTePlans Google Forms Resources
Back to School Students Survey
All SMARTePlans Google Form Resources